Nov. 2005, I started
|
||||
 |
From the lofting drawings, moulds, bulkheads and knees were cut. |
|||
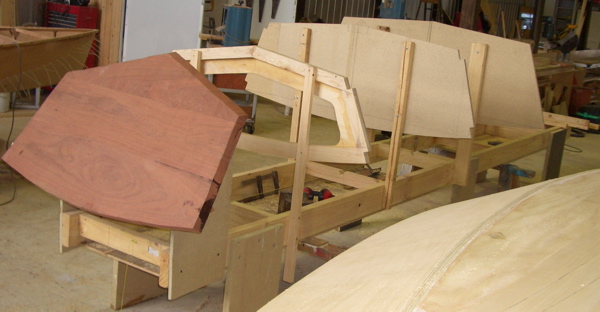
| The Wooden Boat Centre procured all materials for me including the lumber for the transom seen being glued up here. | ||
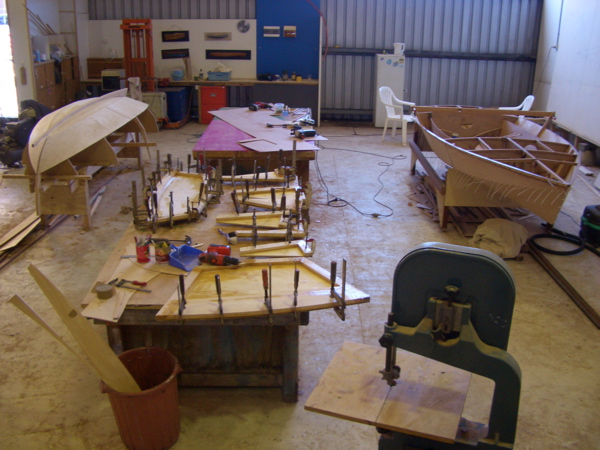 |
My work area is in the middle. The knees and bulkheads are being glued up. | |
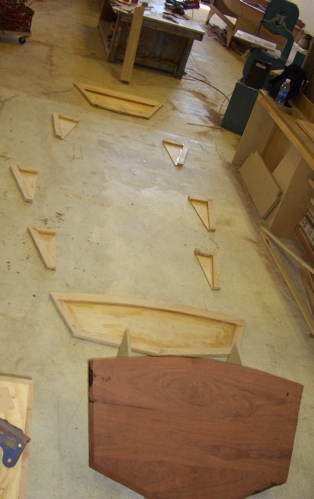 |
Here are all the pieces laid out. The moulds aren't shown. Doesn't look like much. |
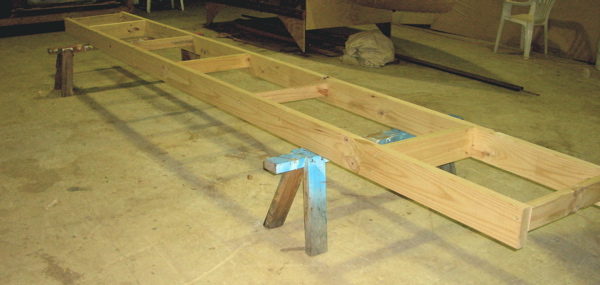 |
Those pieces have to be mounted on something so I was instructed to build a "strongback". This was squared, leveled and bolted to the floor. |
 |
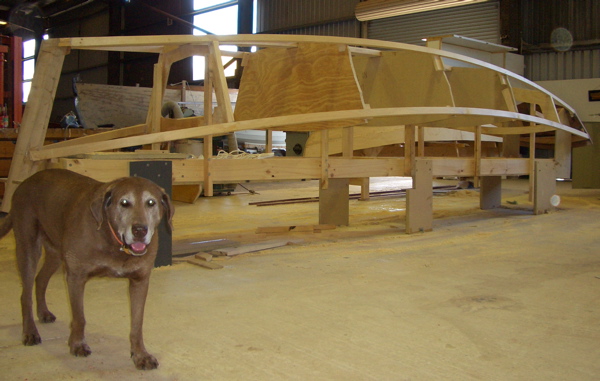
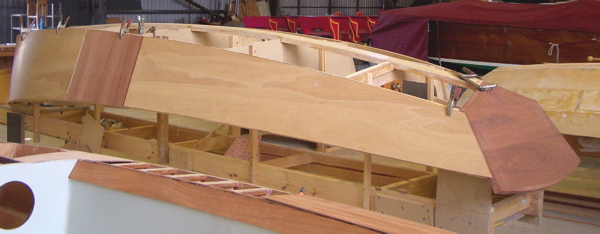
Here is the transom, aft bulkhead and 3 moulds mounted on strongback. All are oriented by vertical and the building line... or they are suppose to be. |
|
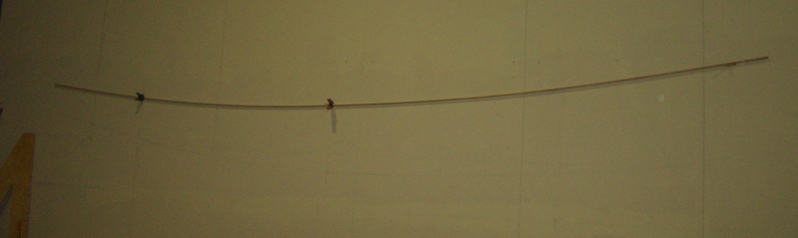
After much, and I do mean MUCH adjusting, (like 2 weeks worth of sitting and looking and making small changes) my sense of aesthetics was finally satisfied or maybe I just got tired and I went ahead and mounted the chine and shear boards (horizontal long planks). |
 |
 |
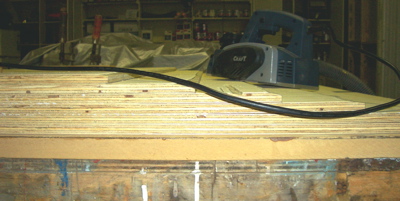
| Plywood doesn't come in 20 foot lengths so I had to make my own. I had a hard time believing you could simply glue plywood together but Brian assured me that its common practice. Above is a poor photo of the plywood stacked ready to make a 10 to 1 scarf. A planer, pad sander and hand plane are used to make a common angle. | Heres a even more poorly lite shot of the finished angle. |
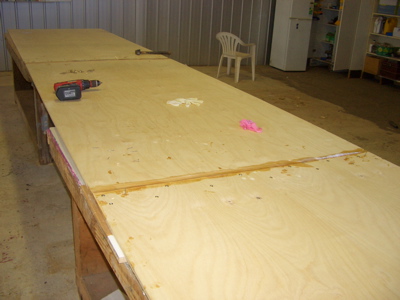 |
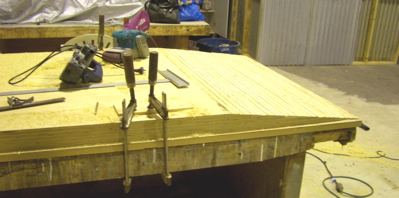
Two and a half sheets of plywood glued together forming one sheet long enough to make the sides and bottoms of my Sharpie. |
|
I wisely cut luan (thin, cheap plywood) templates. then traced the shape of the sides and bottoms onto the freshly scarfed plywood. |
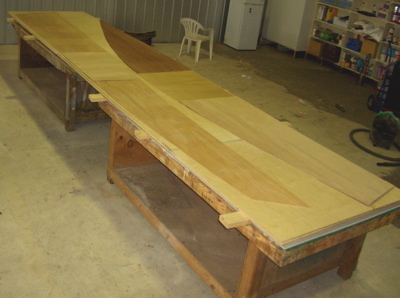 |
You can just make out the luan templates on top of the 2 long scarfed plywood sheets. The shape was traced and then cut with a skill saw. |
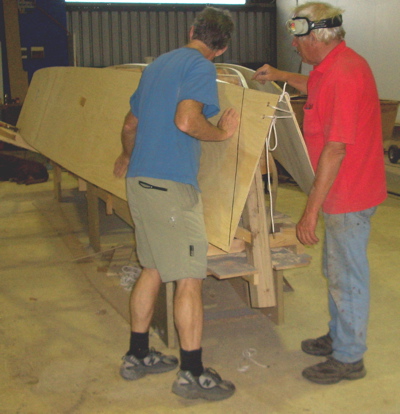 |
Brian (right) and myself checking the fit before epoxying. |